Configure a New Bunny Site
Example steps to set up a your bunny.net account to accomodate a new site.
In this example Our new site called: dummy.example.net
Change your names according to your site name.
- login to your bunny.net account at: https://dash.bunny.net/
- create a standard storage zone named: dummy-example-net [1]
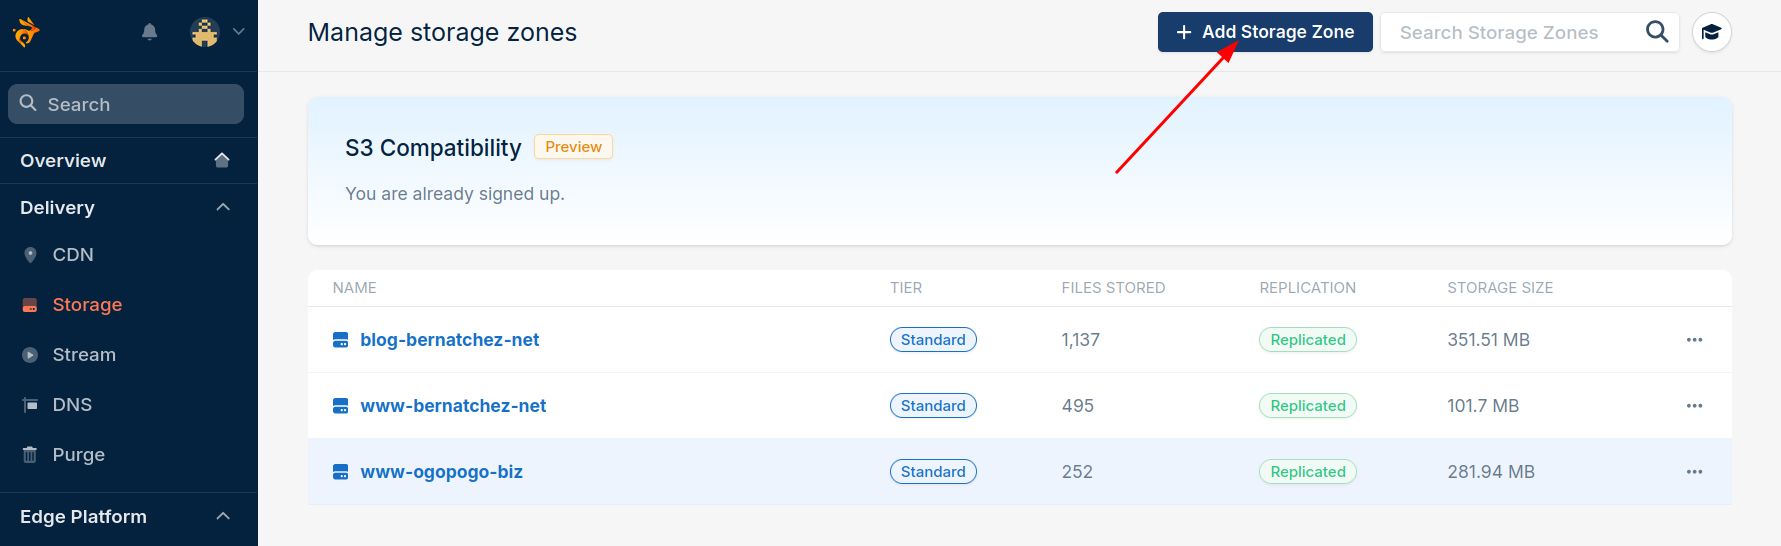
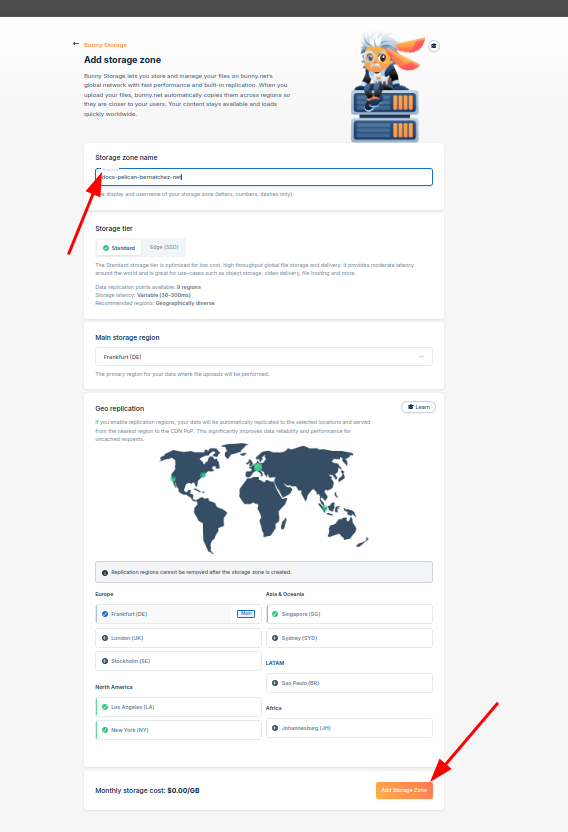
| [1] | Picture shows "docs-pelican-bernatchez-net" should show "dummy-example-net" |
- create a pull zone named: dummy-example-net-zone [2]
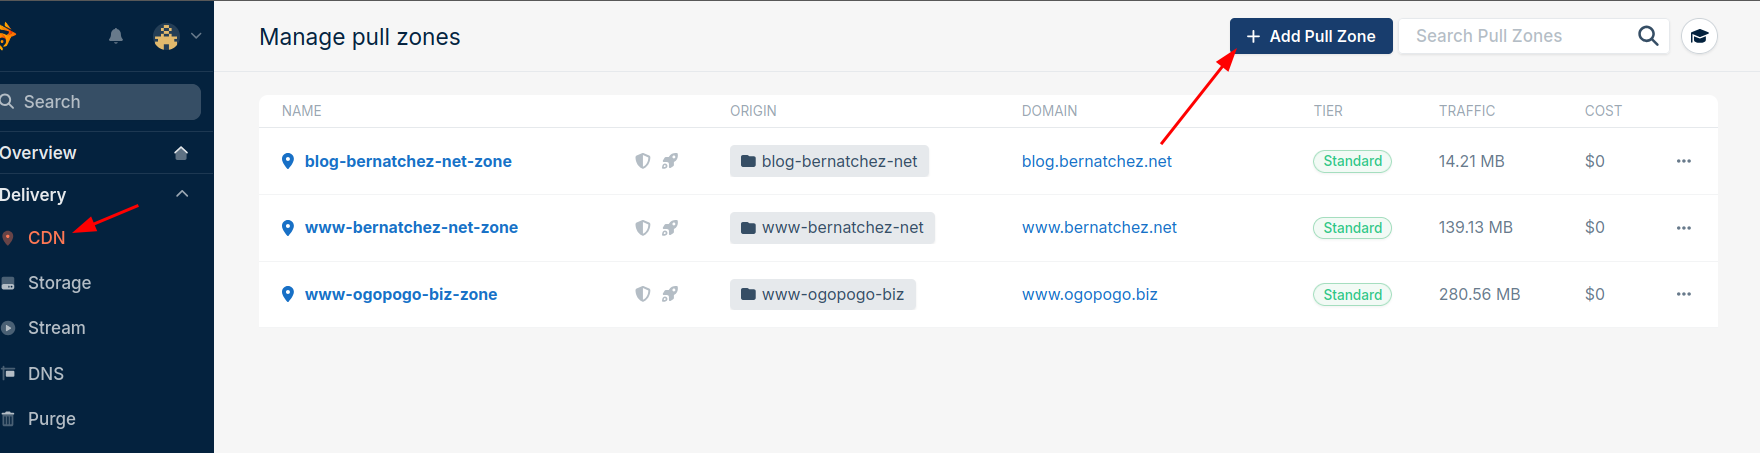
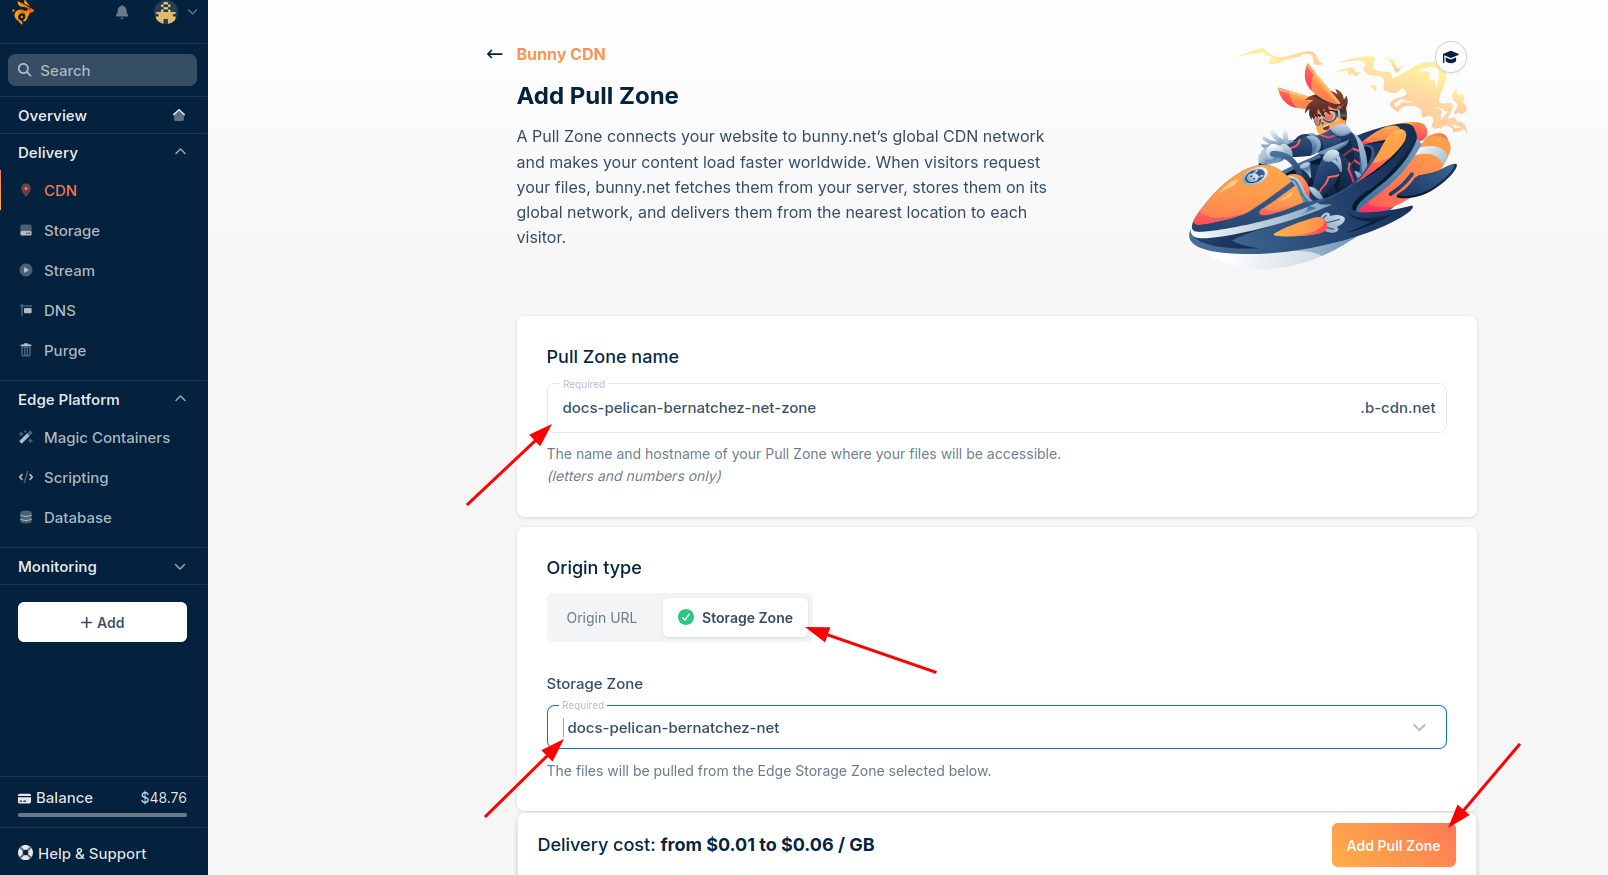
| [2] | Shows "docs-pelican-bernatchez-net-zone" should show "dummy-example-net-zone" |
- login to your DNS service account.
- On your DNS server create a record: dummy.example.net CNAME dummy-example-net-zone.b-cdn.net
- Back on bunny.net add a custom hostname dummy.example.net to the pull zone [3]
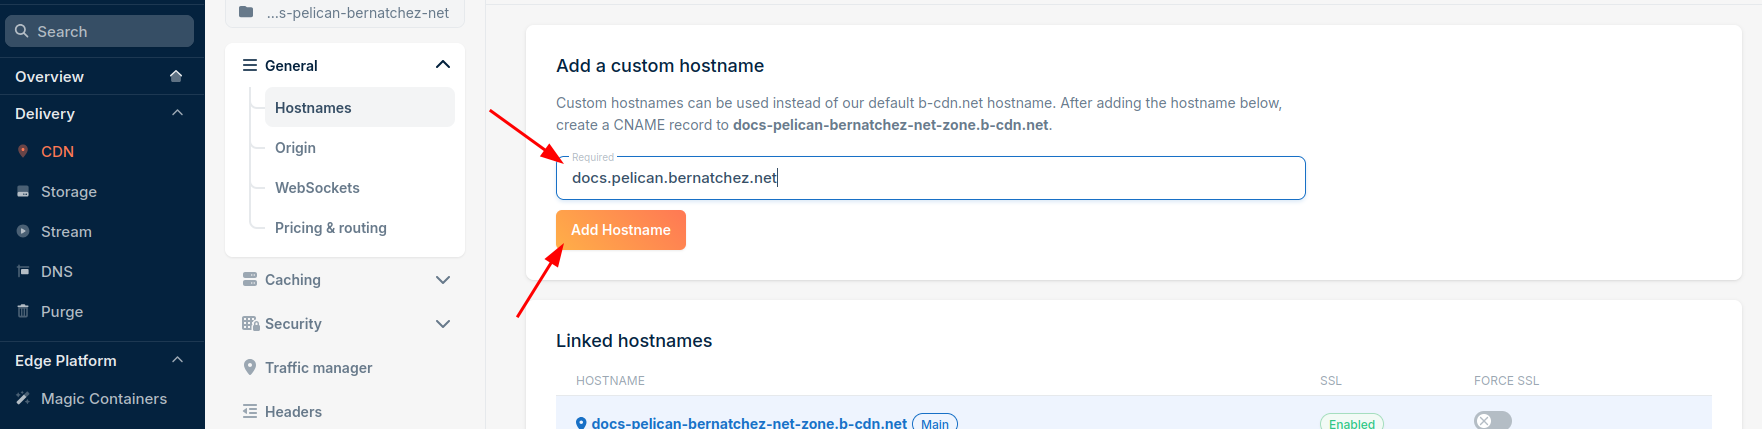
| [3] | Shows "docs.pelican.bernatchez.net" should show "dummy.example.net" |
When you do this add, take the opportunity to confirm certificate is working.
Now your site is ready to serve. You can publish to it.